I often receive questions about the best way to install pronged magnetic snaps. To this end, I have written many emails and messages about the same subject but failed to make it easy on both you and me by posting my answer online. Awhile ago I re-wrote the directions on Answers.com and thought it would be even easier if I provided this information on my own website.
I wrote this answer to the question:
How do you sew magnetic snaps onto a purse or handbag?
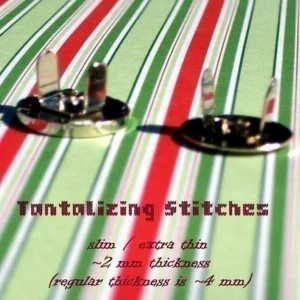 There are a couple of different types of magnetic snaps but the most popular type is the prong type. One set comes with a female part (its magnetic with a dimple in the middle), a male part (non-magnetic and fits in the female part), and two washers to secure the parts in place.
The instructions really depend on where you decide to install this snap. In general, make sure that you only intend to have the magnetic side showing as the opposite side looks very unappealing. Most people install these into the lining of the bag so if you do, make sure to install these before you sew the lining on.
First, you need to determine where you want to install the snaps. To do this, align the washers on the fabric where you want your snap and place a mark on the back side of your fabric. These marks are where you will make slits so that the prongs of the snaps can fit in place.
Second, make slits on the marks you made. I suggest making the slits smaller than necessary because if you make them too large, your snaps will move around and will not be so secure. Also, many people apply different techniques to prevent ripping of the slits. (The tear is caused by the pulling apart of the strong magnetic snaps – the tear is usually at the bottom of the slit). Some people treat the slits as button holes and sew the slits that way. If you do this, make sure that sewing you do cannot be seen and is hidden behind the snap.
Other techniques include applying interfacing (I suggest the iron on). If you do this, I suggest ironing the interfacing on and then cutting the slits.
I’ve also used plastic canvas as support. I cut a piece of plastic canvas that is larger than the washer and stick the piece in between the fabric and washer.
As the previous author suggested, Fray Check could also be used. Just make sure that you don’t end up gluing the wrong things together.
Third, install the female or male part by placing the piece on the good side of your fabric so that the prongs end up on the back side of the fabric. Then, place the washer over the prongs and fold the prongs toward the center. I suggest using pliers to fold the prongs over.
Make sure everything is nice and snug and repeat to install the second part.


